[ You might also like: 10 Things to Do After Installing Linux Mint ]
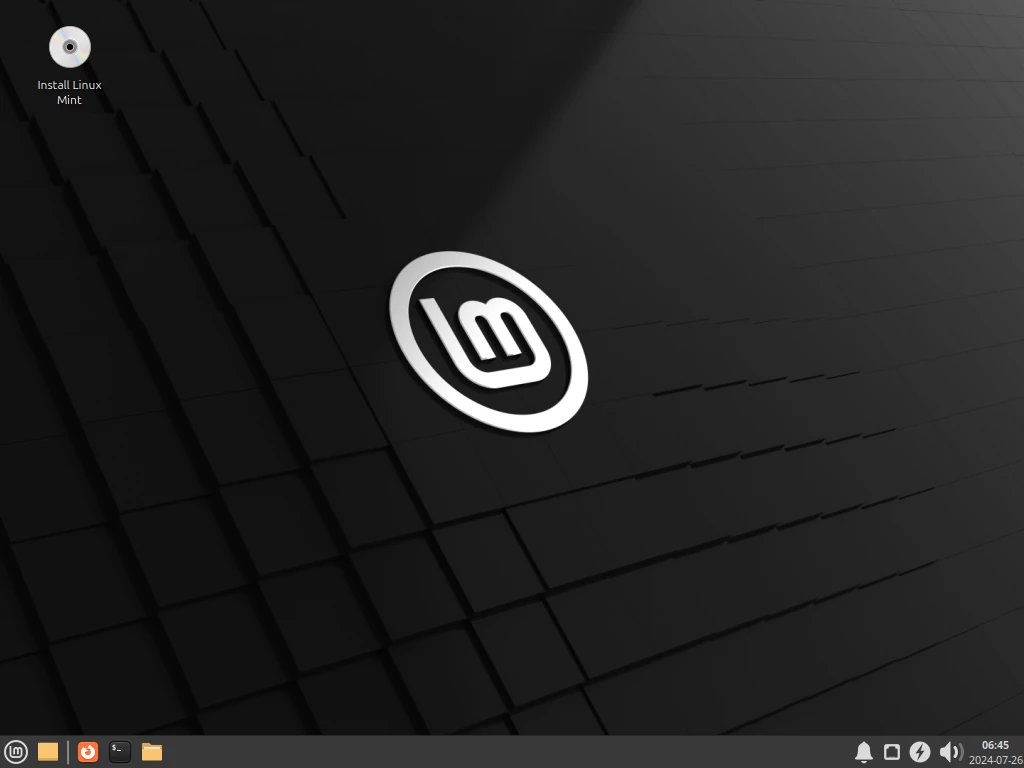
From the desktop, click Install Linux Mint to launch the installation wizard as highlighted in the following screenshot.
Next, you need to create a bootable media-USB flash/DVD using these useful USB creator tools in order to create a Linux Mint bootable USB drive.
Once you downloaded the Cinnamon desktop edition, make sure to verify the ISO image by generating the SHS256 sum as shown:
Alternatively, you can use the dd command to create a bootable USB device.
Next, create the root partition which will store the system files. Select the free space again, and click the add (+) button to create a new partition with the following properties:
Step 1: Download Linux Mint 22 Cinnamon ISO Image
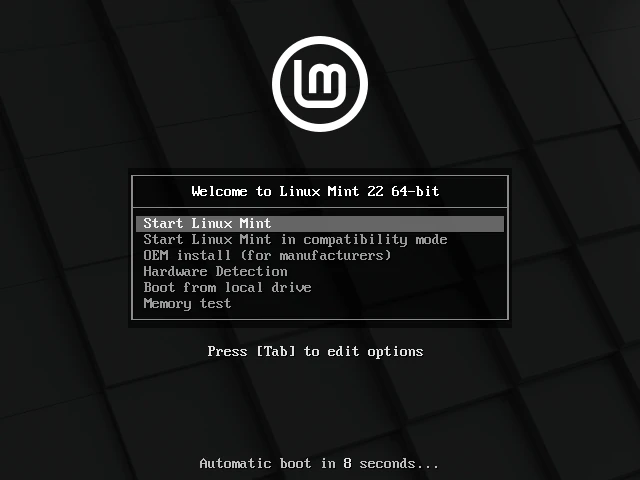
Now plug in the bootable USB flash drive into your computer and reboot. Once the system has rebooted, press your BIOS key to select the boot device and select the USB drive to boot from it.
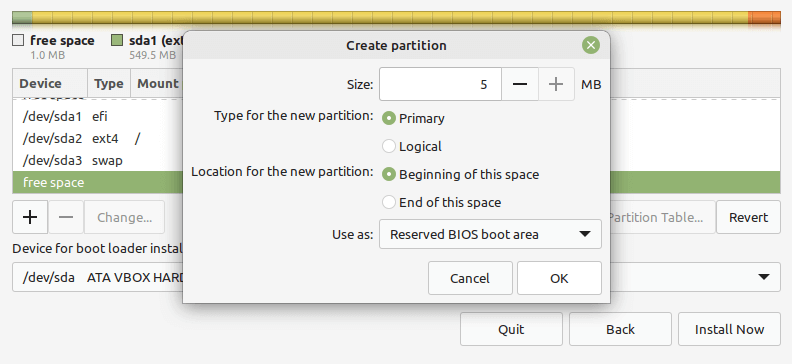
Finally, create a “Reserved BIOS Boot area” partition of at least 1 MB, which will store the boot loader code.
Linux Mint is a modern, polished, easy-to-use, and comfortable community-driven GNU/Linux desktop distribution based on the popular Ubuntu Linux distribution. It is a great and recommended distribution for computer users switching from Windows or Mac OS X operating system to the Linux platform.
Once the system has booted, from the grub menu, select the first option and click enter to load Linux Mint.
Linux Mint 22 ships with several updated software, improvements, and many new features that will offer you a more pleasant desktop experience:
To get started with the installation, head over to the Official Linux Mint download page and download the Cinnamon ISO image file on your PC.
Step 2: Installation of Linux Mint 22 Cinnamon Edition
Next, in the partition setup window, click New Partition Table.
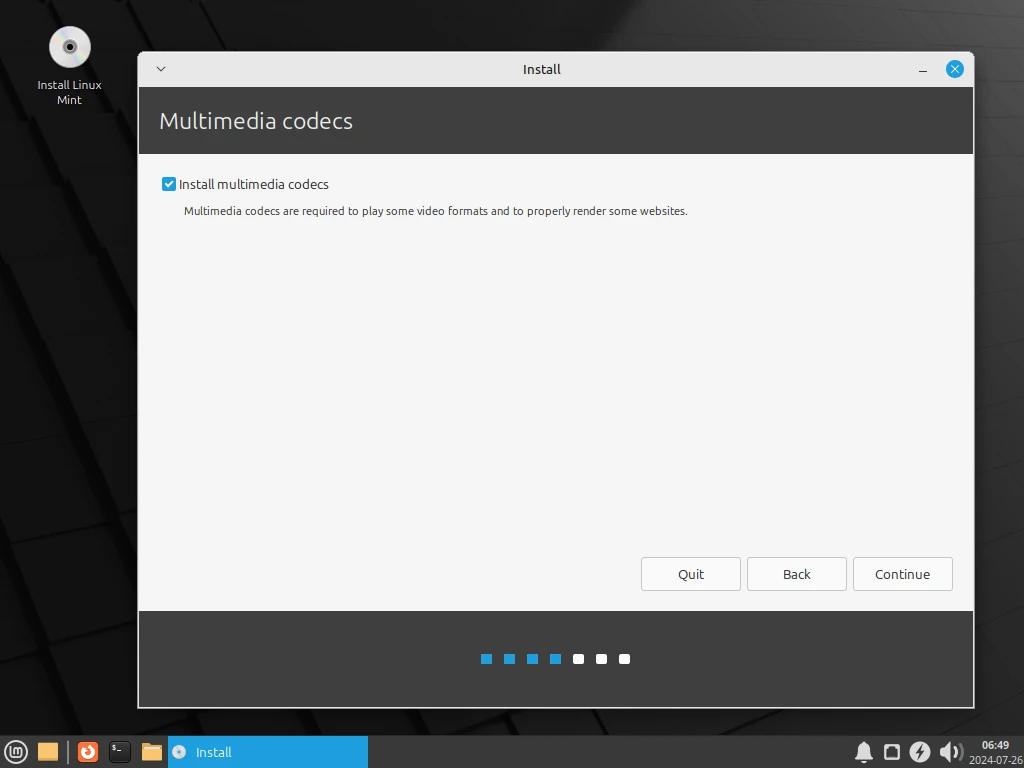
In the next windows, check the option Install Multimedia codes (which are required to play certain video formats and more), and click Continue.
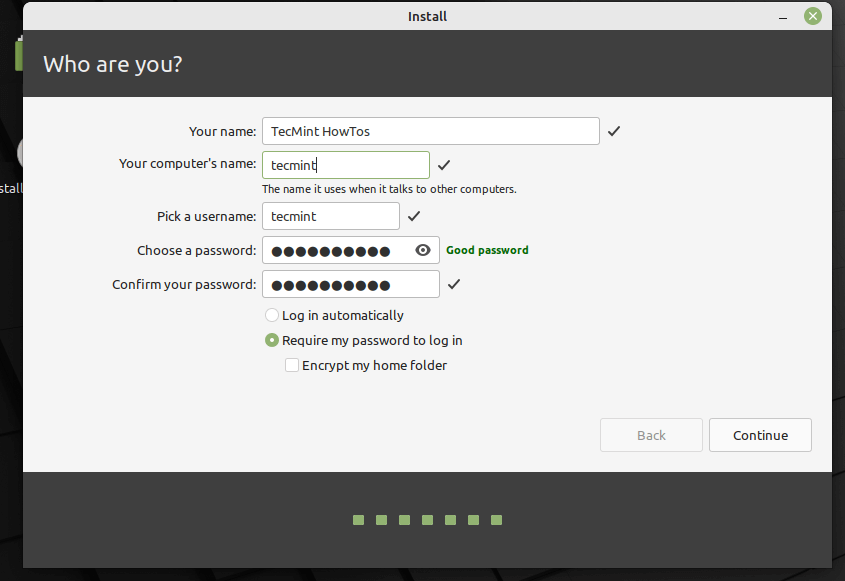
Next, create a user account with a password and set the computer name as shown in the following screenshot. Then click Continue to start the actual installation of system files and packages to the root partition.
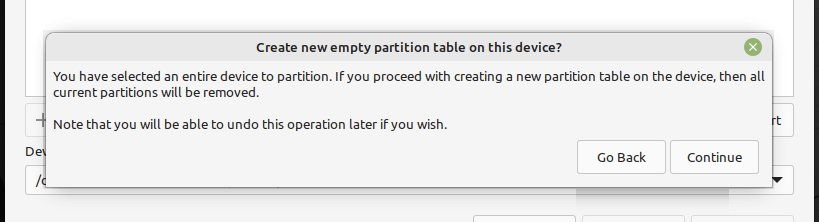
And confirm the new partition table creation step by clicking Continue in the pop-up window.
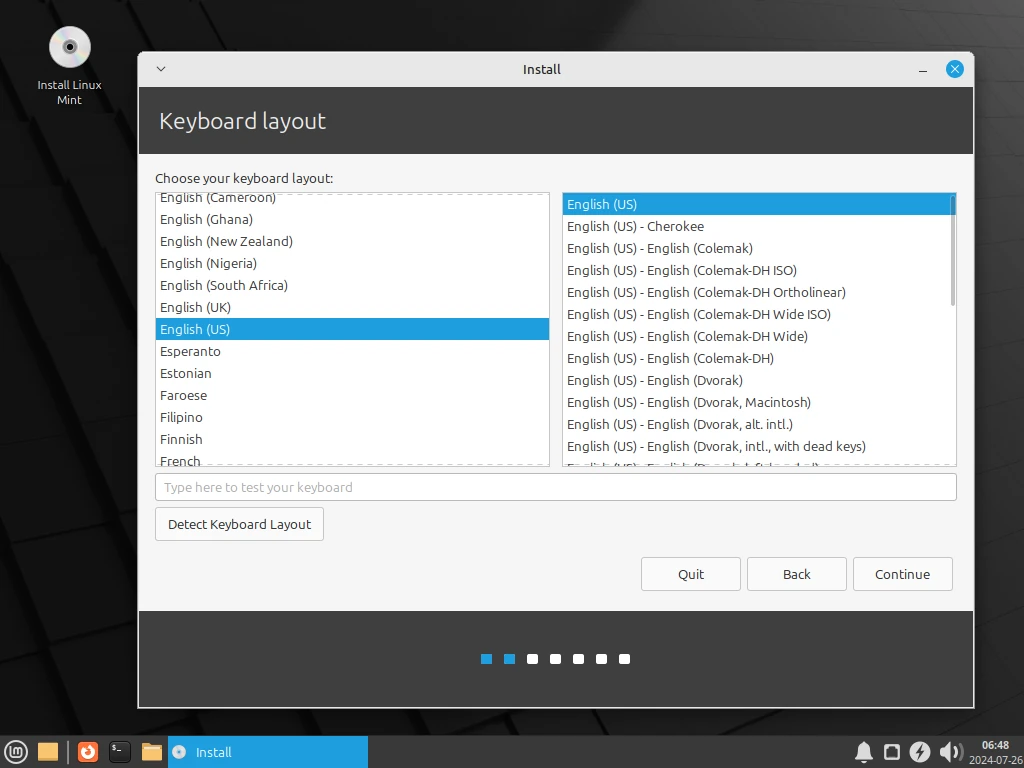
Next, select the keyboard layout and click Continue.
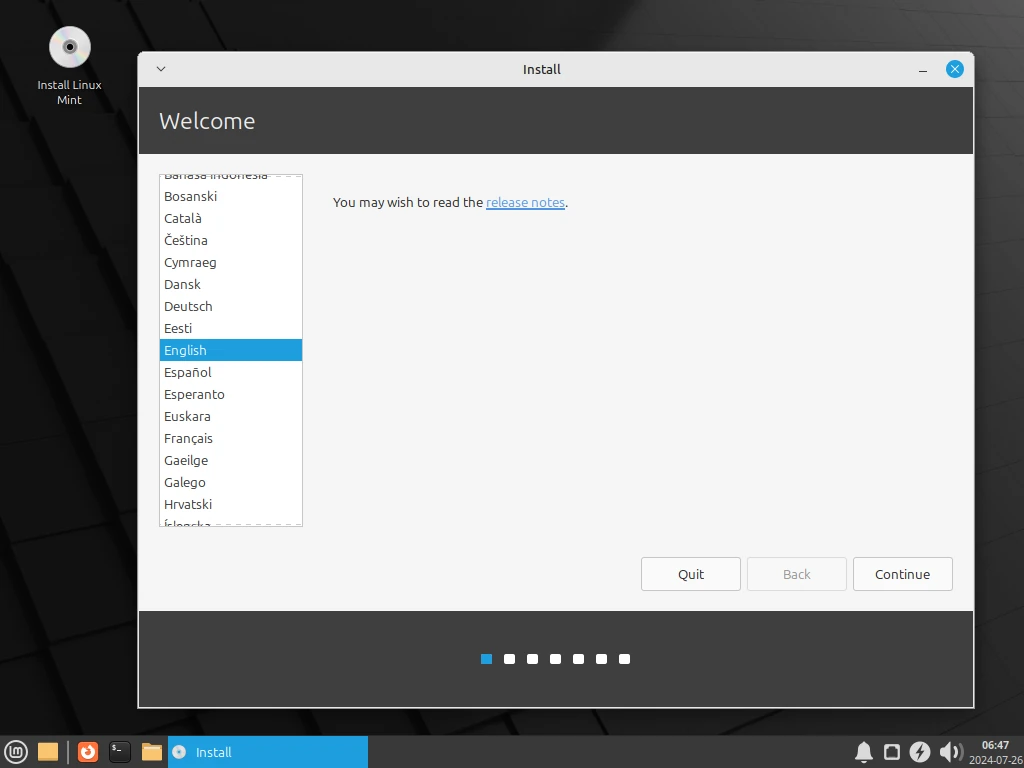
After the installation wizard opens up, you can optionally read the release note, then click Continue.
This guide will walk you through the steps to install Linux Mint 22 Cinnamon edition, but the steps below also work for Mate and XFCE editions.
sha256sum -b linuxmint-22-cinnamon-64bit.iso
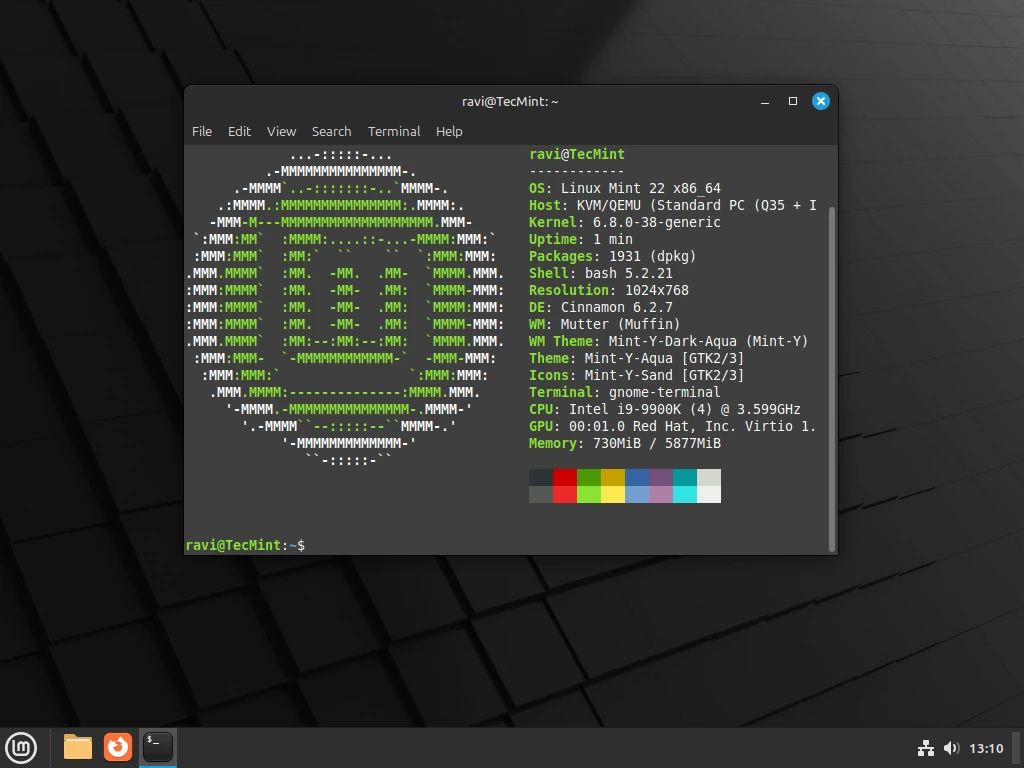
Congratulations! You have just successfully installed Linux Mint 22 Cinnamon edition on your computer. For any questions or additional information, you can use the comment section below.
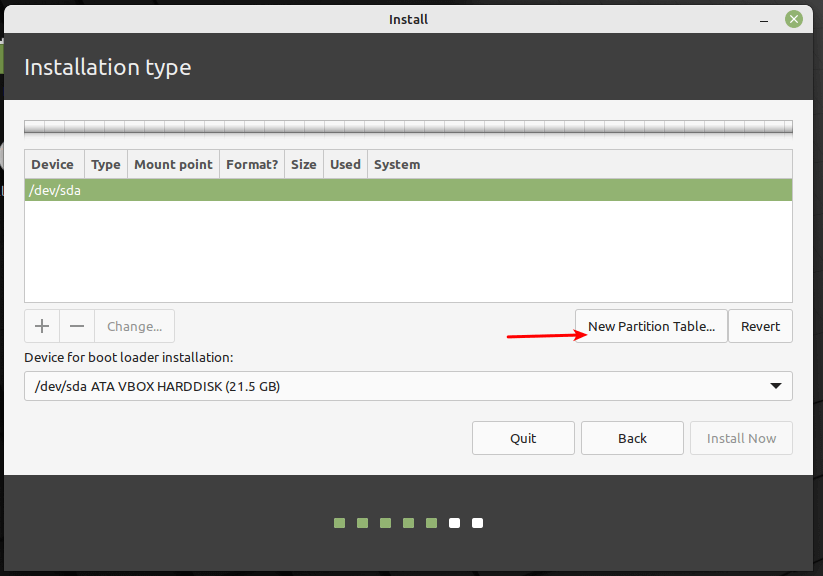
Choose New Partition Table
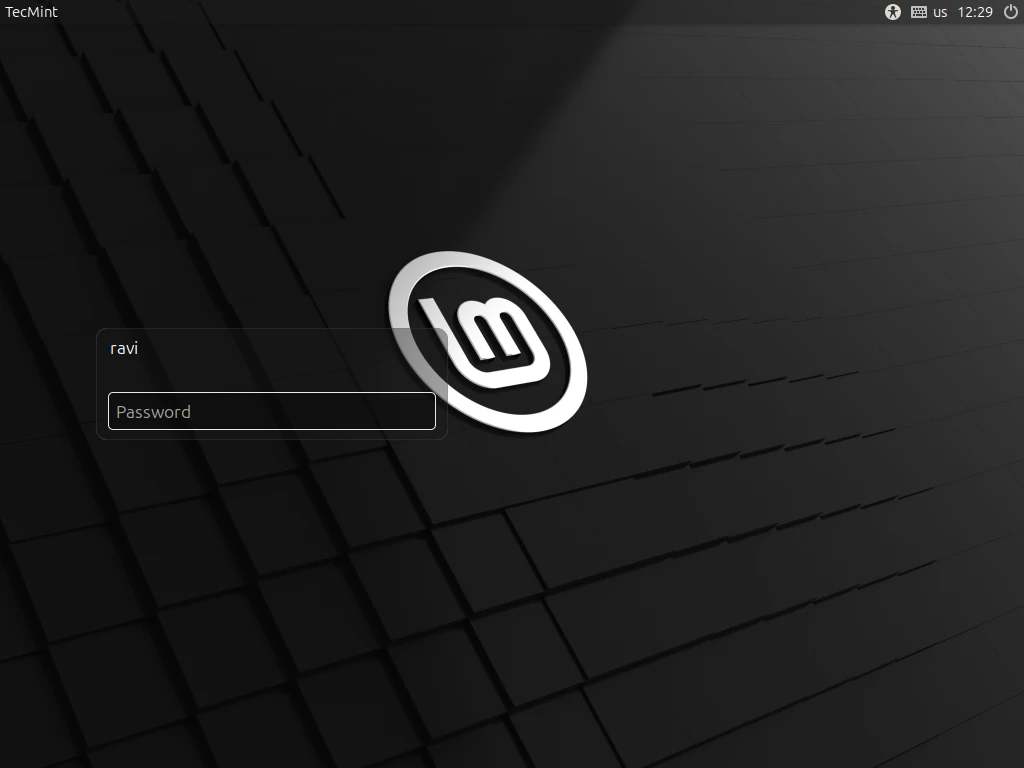
Once the system has rebooted, log into your new Linux Mint 22 Cinnamon edition installation.
Note: If you already have existing partitions where you wish to install Linux Mint, for example, a partition with an existing installation of another Linux Mint version installation or Linux distribution, simply ignore the partition creation steps, simply select the root, and swap partitions and set the properties.
[ You might also like: How to Install Linux Mint Alongside Windows Dual-Boot ]
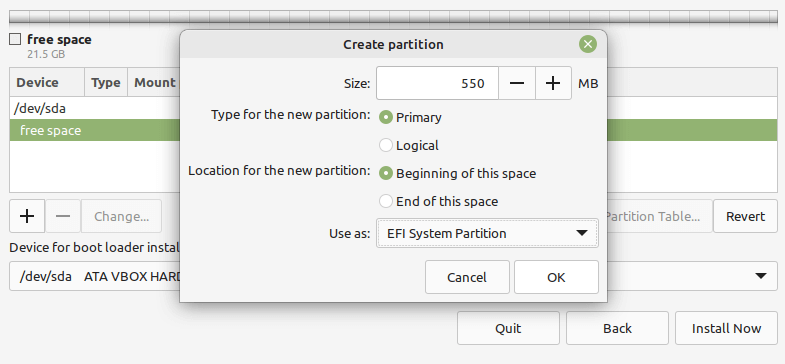
- Size – you can set a size between 100 to 550 MB, and
- Use as – set to EFI System Partition and click OK.
sudo dd if=linuxmint-22-cinnamon-64bit.iso of=/dev/sdX bs=4M status=progress && sync
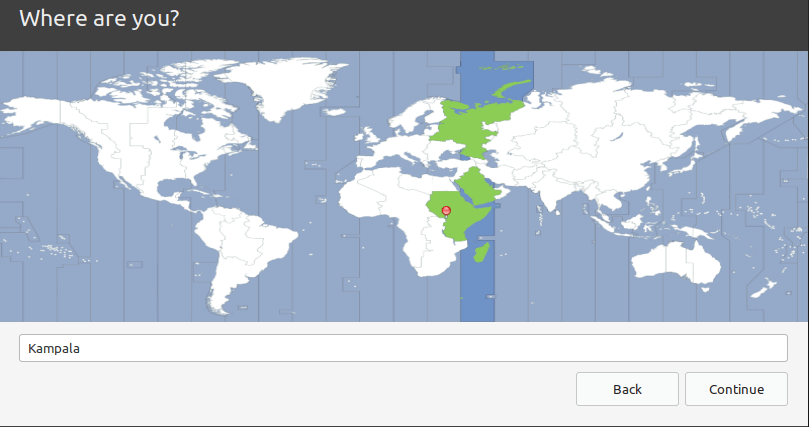
Now select your location and click Continue.
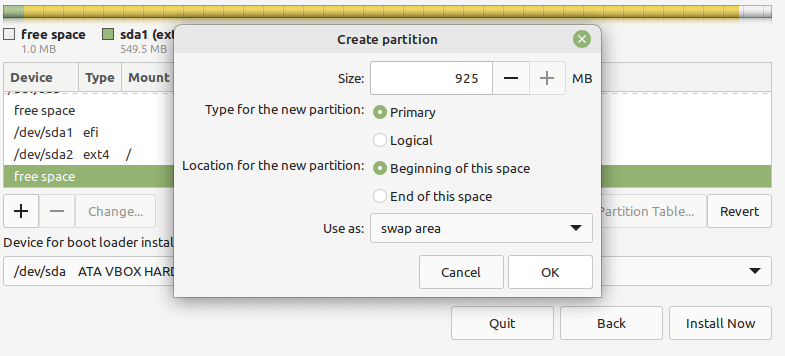
- Size – you can set a size of 500 MB or more if you have more free space, and
- Use as – set value to swap area.
Create Swap Partition
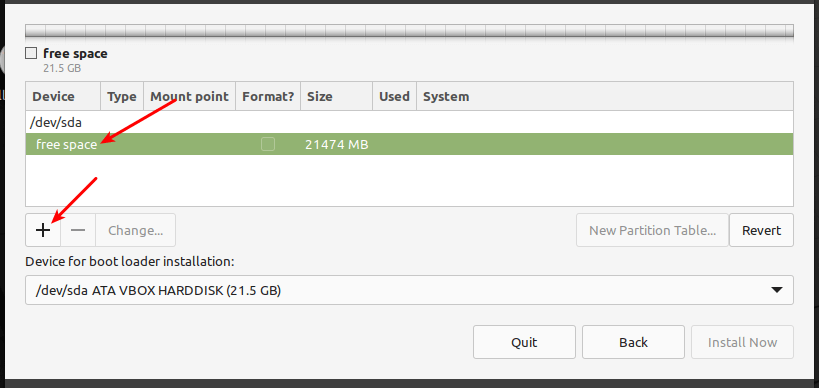
Next, you need to create the EFI system partition, a mandatory partition for UEFI systems. It will hold the EFI bootloaders and drivers to be launched by the UEFI firmware. Select the free space, and click the add (+) button to create a new partition.
And set the EFI partition properties:

Before you proceed, ensure that you have an 8 GB USB drive for the installation medium and a stable broadband internet connection to download the ISO image.
Now pick the installation type by selecting the second option, Something else to enable you to manage partitions for installing Linux Mint.
In the pop-up window, click Continue to accept the new partition table setup.
Next, create the swap space by selecting the free space and clicking on the plus (+) sign to create a new partition with the following properties:
Linux Mint 22 code-named “Wilma” is the latest version of the popular Linux Mint desktop operating system that is available in three versions, namely Cinnamon, Xfce, and MATE. It is an LTS (Long Term Support) release that is built atop Ubuntu 24.04 and will be supported until 2029.
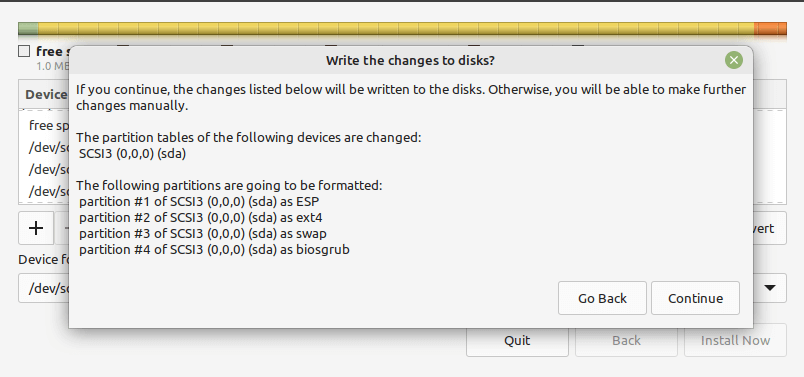
After creating all your partitions as shown in the following screenshot, click Install Now.
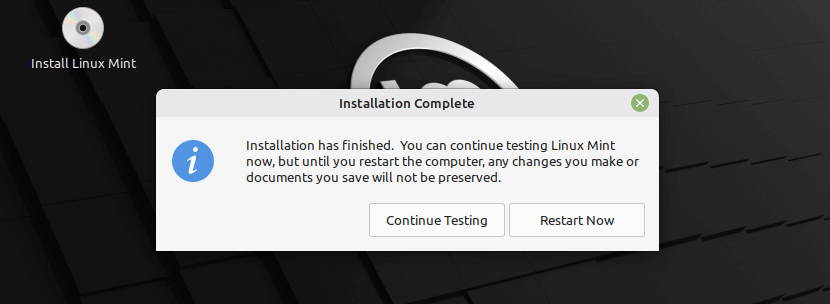
Wait for the installation of the system files and packages to complete. Once all is done, click on Restart Now.